The increase in greenhouse gas and carbon emissions continues to destroy the environment on which we depend, and the availability of clean energy has greatly improved this phenomenon. Using solar energy can greatly alleviate the problem of overpriced utility grids and save you even more money.
Now. The cost of solar installations is steadily falling, and this is a good time. You can try DIY options to control your budget range and provide you with solar installations. You can read this guide on home solar setup steps to save you money.
Home Solar Setup Steps

1.Get your solar modules ready
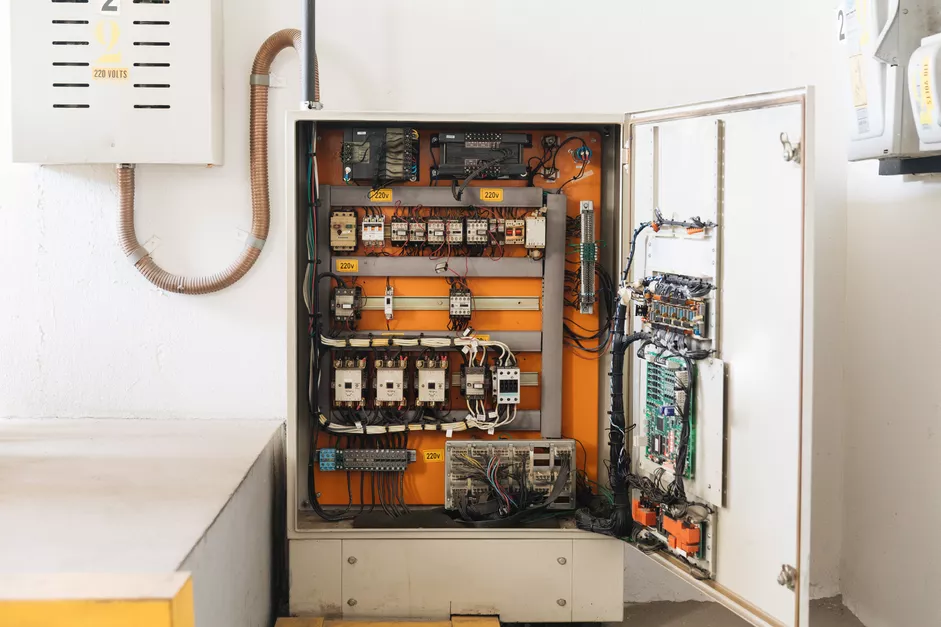
You’ll need to collect solar panels, charge controllers, inverters and battery packs. In addition to that, you need to prepare circuit breakers, meters, MC4 connectors and fuses, etc.
2.Calculate your electrical load
What Is Electrical Load Capacity?
The term “electrical load capacity” refers to the total amount of power provided by the main source of electricity for use by your home’s branch circuits and the lights, outlets, and appliances connected to them.
Before proceeding with a solar installation, think you need to calculate the power usage load capacity of your home. Here I share an article ” Calculating Electrical Load Capacity for a Home” from thespruce.
Here’s an electrician’s usual alternative method
Add together the wattage capacity of all general lighting branch circuits.
Add in the wattage rating of all plug-in outlet circuits.
Add in the wattage rating of all permanent appliances (ranges, dryers, water heaters, etc.)
Subtract 10,000.
Multiply this number by .40
Add 10,000.
Look for the full wattage rating of permanent air conditioners, and the wattage rating heating appliances (furnace plus space heaters), then add in whichever is the larger of these two numbers. (You don’t heat and cool at the same time, so don’t need to add both numbers.)
Divide the total by 240.
3.Select and charge the battery
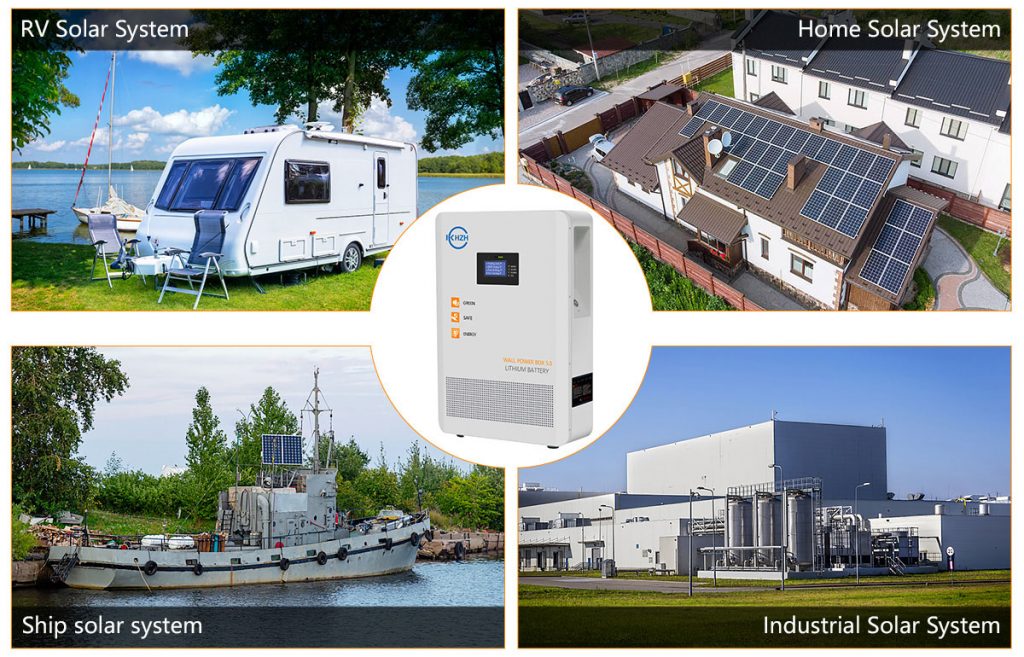
Solar energy is stored in the battery by converting it into chemical energy after the sun goes down. You can use lead acid or lithium batteries to store solar energy generated during the day and discharge it at night. You need to choose the battery that best matches your battery storage capacity and it will determine your power usage throughout the night. At this point you need a power controller to monitor the charging of the battery, which is located between the panel and the battery.
If you use Keheng’s LiFePO4 Bluetooth monitor lithium-ion battery, you can monitor your battery usage through Bluetooth monitoring software. Its latest feature supports the list of Bluetooth devices that AirPods use to check connections.
The battery management system of Keheng lithium-ion battery can help you better protect your battery and prevent it from operating outside its safe operating area to protect its battery. such as:
Over-current during charging
Over-current during discharge
Over-voltage during charging, especially important for lead–acid and Li-ion cells
Under-voltage during discharging
Over-temperature
Charging while under temperature
Over-pressure (NiMH batteries)
Ground fault or leakage current detection .
Learn more about Bluetooth lithium battery products
4.Set up the inverter
Solar arrays generate electricity with direct current (DC), but appliances use electricity as alternating current (AC).
At this time, the inverter can help you very well. It can be effectively used to convert the DC power of the solar panel into a power output suitable for powering our home appliances.
In inverters, transitions from low potentials to boosted high power supply levels become feasible due to the high current usually available from a DC input such as a battery or solar panel. The total power remains the same.
Inverters are available in different power wattages and types, including square wave, modified sine wave and pure sine wave inverters. Square waves are not suitable for all devices, and the output of a modified sine wave is not suitable for some devices, such as refrigerators. Pure sine wave inverters are the best choice for solar systems on the market.
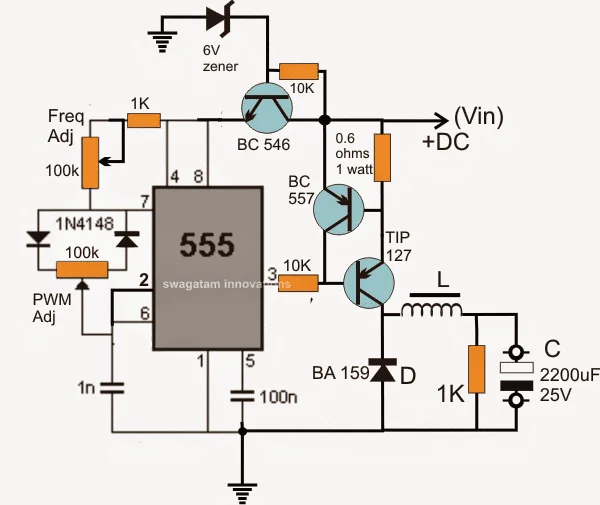
If you are a DIY enthusiast, I recommend you to read this article—How to Design a Solar Inverter Circuit
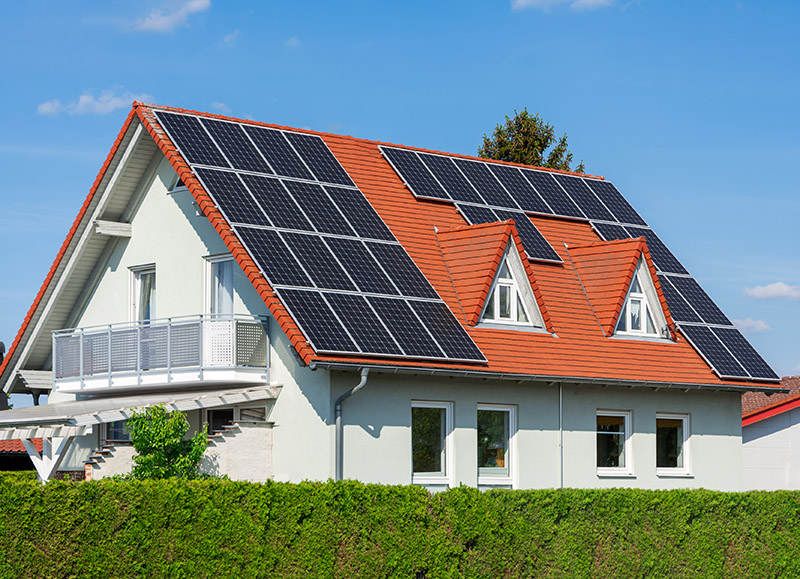
5.Fasten the solar panel
When you have the battery, controller and inverter ready, you need to start installing the solar panels. Currently available solar panels on the market are divided into monocrystalline solar panels and polycrystalline solar panels. Monocrystalline is more expensive and slightly more efficient than polycrystalline. Here we recommend the use of polycrystalline solar panels because it is more affordable and widely used in the market.
Choosing a solar panel, you need to choose a location that is not hindered by solar energy reception, you can choose a DIY bracket or buy a bracket on the market. The inclination of the mounting bracket should be almost equal to the latitude angle of your location.
Web Featured:Calculating Solar Panel, Inverter, Battery Charge
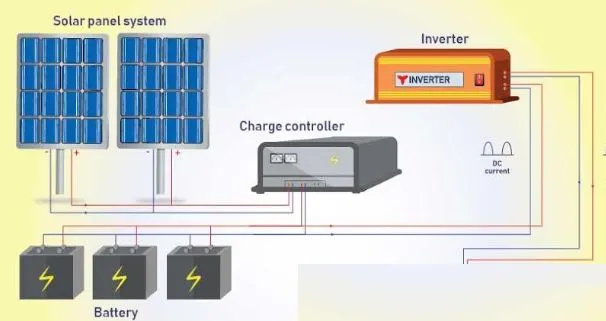
6.Connect the solar panels with battery
You can trace a small junction box at the back of the solar panel. The junction box has negative and positive signs of polarity. In a large sized-panel, the junction box has terminal wires too with an MC4 connector. However, you will have to align the junction box with external wires yourself if you use small solar panels. Use the black and red wire for negative and positive terminal connections, respectively.
In certain PV systems, these come paired together, so you don’t have to put in the additional effort. In cases that are not given as a single unit, you need to make series and parallel connections. You can make a series connection by connecting a device’s positive terminal with another device’s negative terminal. For a parallel connection, you need to connect one device’s negative terminal with another device’s negative terminal and so on.
7.Setup stands for inverter and battery
When you’ve set up the stand, you’re ready to wire it up. Start by wiring the controller. The first connection on the left is for connecting the controller to the solar panel. The second connection is used to pair the battery with the controller. The last connection is for connecting the controller to the direct DC load connection.
To connect the solar panel with the charge controller, you need a separate connector called the MC4 connector. When the controller is connected to the battery, its LED should light up. Again, you have to connect the inverter terminals to the battery terminals.
Article material citation source-ecoideaz《Step by step guide on how to set up solar power at home》


